Running application
Let’s run your app now!
- Configure the IDE
- Launch the project
Set up the NeoMAD Bundle
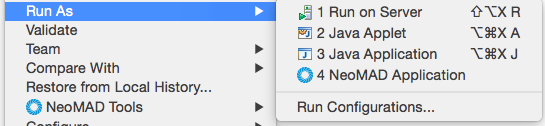
- Right click on HelloNeomad project > Run As > Run Configurations …
- Double click on Neomad.
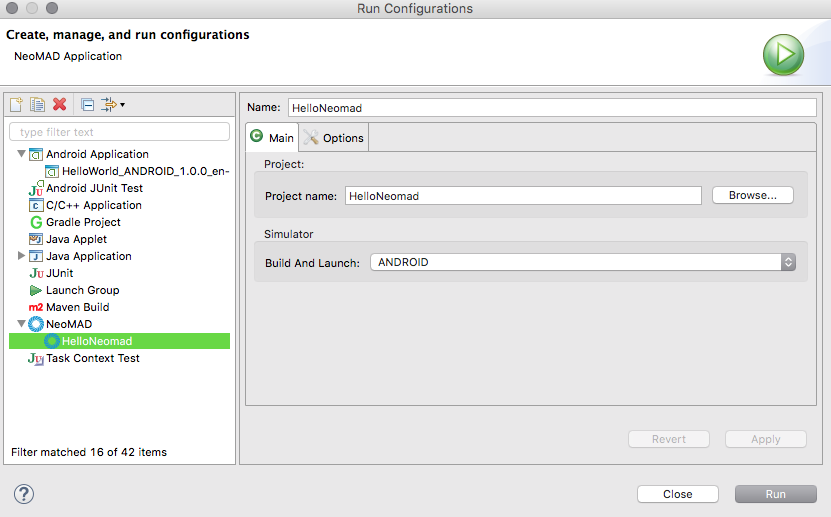
- Then change the name of the configuration (“HelloNeomad” in this example)
- Select the output device (Android, IOS, etc.).
Note
By default, NeoMAD creates a launch configuration for Android device.
Run on Android Device
Choosing the device
You can choose to run it on:
- an Android device connected with USB wire
- an Android Virtual Device (
AVD) you have already setup on previous step
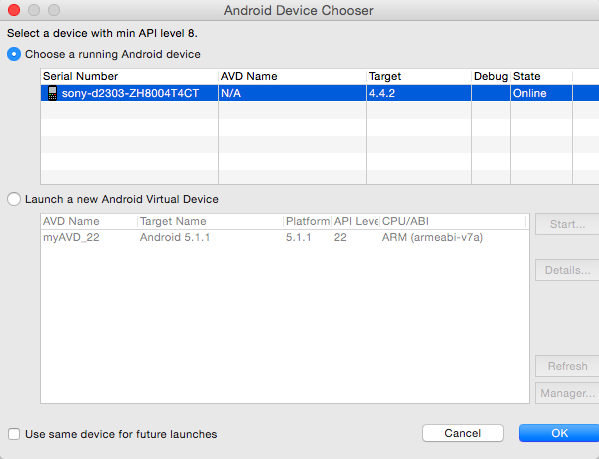
Note
if the selected device does not appear, make sure to enable USB debugging (Next Chapter)
Set up your device
- Plug in your device to your development machine with a USB cable.
Note
If you’re developing on Windows, you might need to install the appropriate USB driver for your device.
- Enable USB debugging on your device.
- On most devices running Android 3.2 or older, you can find the option under Settings > Applications > Development.
- On Android 4.0 and newer, it’s in Settings > Developer options.
Set up Android Emulator
To run your app on the emulator you need to first create an Android Virtual Device (AVD).
An AVD is a device configuration for the Android emulator that allows you to model a specific device.
To create an AVD:
- Launch the Android Virtual Device Manager:
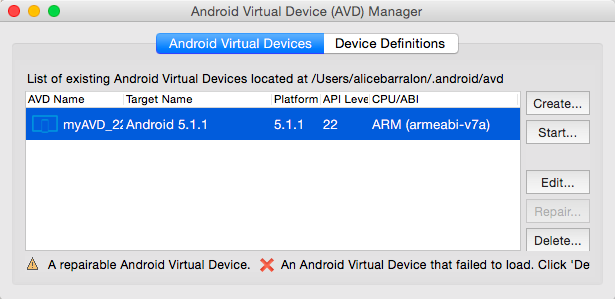
- On the AVD Manager main screen, click Create Virtual Device.
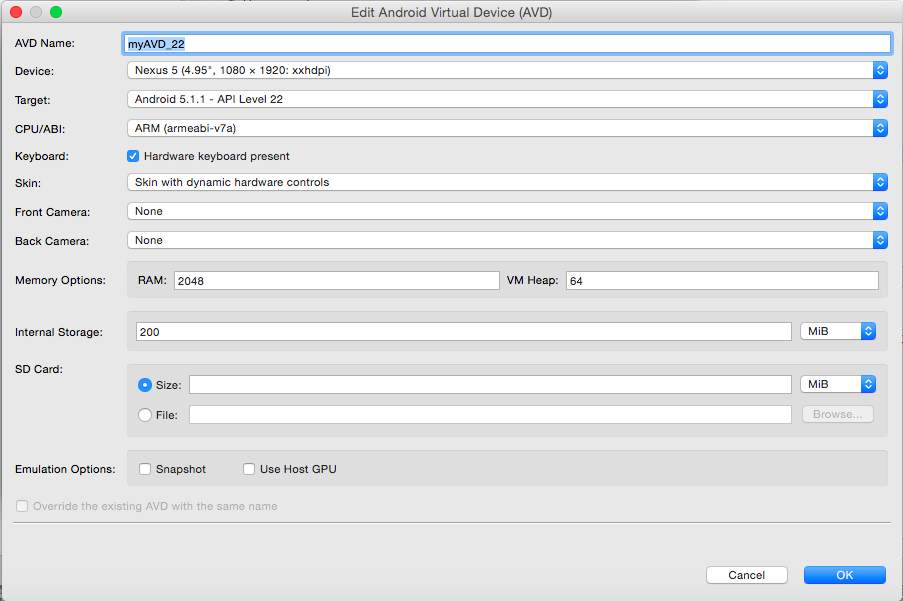
- Verify the configuration settings, then click Finish.
App is running
Logs are displayed in the console view :
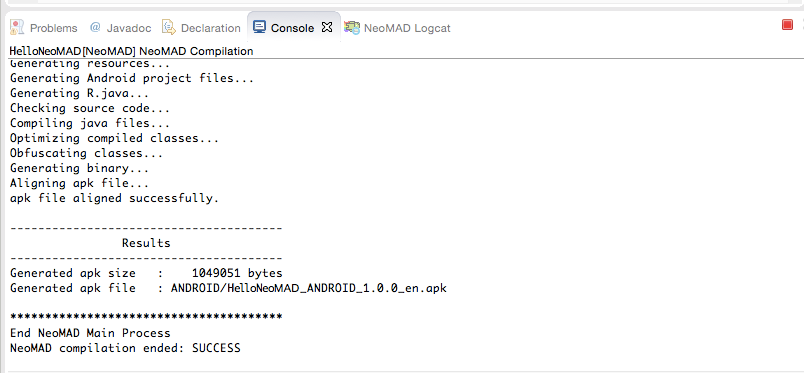
NeoMAD installs the app on your connected device or emulator and starts it.